


I am an HGTV junkie. Even the more obscure HGTV shows, like Hunting Vintage and Texas Flip and Move are sitting on my DVR right now. But I have never ever, until this past summer, attempted any of the stunts that I’ve been watching on TV. I’ve long been storing up dreams and ideas (and a Pinterest board or two), until my husband and I decided shortly after the new year that this was the year we were going to make it happen.

We were going to attempt a major home renovation.
[Insert trembling knees here.]
My friends and family reacted with mixed emotions. Some of them had concerned questions for us: “Can your budget handle it?” “Can your marriage handle it?” “What are you going to do with your kids while you get all that work done?” “Are you going to do it all yourself?” I didn’t have all of the answers to these questions quite yet, but I was ready and determined to give renovation a try. We were going to try to do most of the work ourselves (even tearing down a wall between the kitchen and the living room), but I didn’t really have any realistic idea of how long each project would stretch out or how we would keep our kids entertained in the midst of a construction zone.
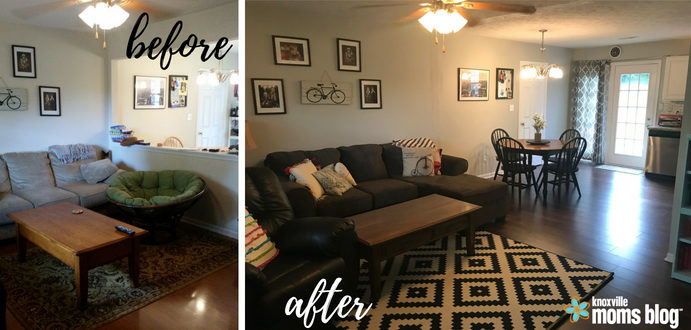
This was our living room:
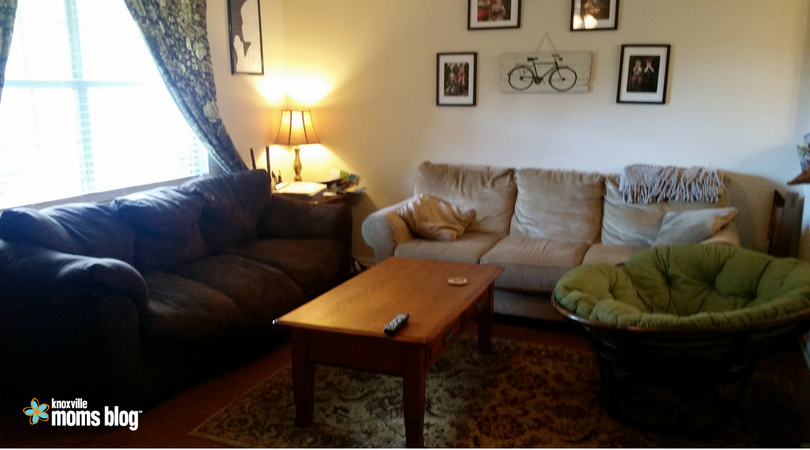
There was nothing terribly wrong with it. The house came with an off-white/cream flat paint on all of the walls, which we had been living with for the past (nearly) four years. It had gotten marked and scraped over time, and it was definitely due for a re-paint. I decided that I would go with a gray eggshell paint, hoping that the color would warm things up and the finish would be slightly more protective (though not too glossy). We have also been using this same furniture for the past ten years of our marriage, so we decided that we would replace some of it and refinish or paint other pieces. We wanted to remove the half-wall between the kitchen and the living room to make it one open space, which also necessitated a change in flooring (yay!). We also had no back-splash in our kitchen, so I wanted to put up some small white subway tiles to make it feel more complete. And I wanted to have all of it done by August. Phew! I feel tired just thinking about it.
So here is how it all went down:
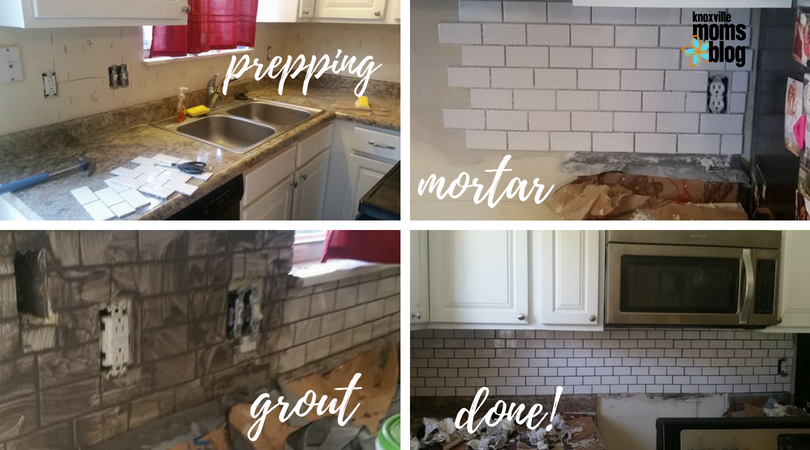
I started out by putting up a tile back-splash in the kitchen. I got a head start on this over spring break because I wanted to enter the summer with at least one project already finished. Tiling is a two-day project (or in the case of a rookie like me, a three or four day project) because you have to let the tile sit on the mortar overnight before adding the grout and caulk around the edges. In my case, I had to go back to Lowe’s multiple times to get some of my tiles cut to fit awkward corners and edges. I tried to label the back of each tile so that I would remember where it was supposed to go, but it was still quite a puzzle to get every piece properly placed. Tiling is hard work, and it’s not something I’m in a hurry to do again!
I took my boys to day care during a couple of days of spring break, and then on the other days, I made an effort to take breaks from my project to do fun things with them. I thought that they would be fascinated by watching the worker at Lowe’s use the tile saw to slice our tiles into smaller pieces, but my guys are young, and the loud noise actually ended up being a little scary (oops!).
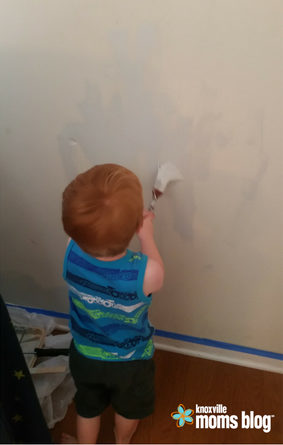
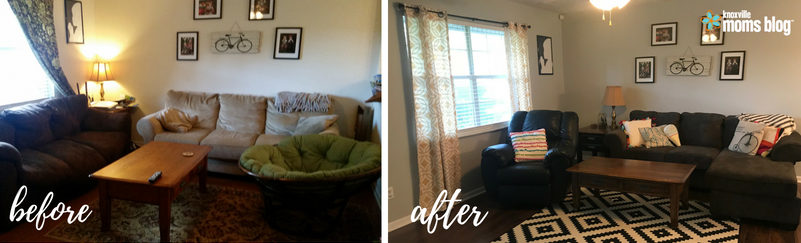
My next project was painting my living room, kitchen, and adjoining hallway in gray.
I used Valspar Ultra in “Notre Dame” and tackled this task in late May, at the beginning of summer. I did this while the boys were home and relied on my husband to help me keep them entertained. I also took advantage of nap time and bed time to get some work done, and I even let my oldest help me on a few small patches of wall (which he was eager and excited to do).
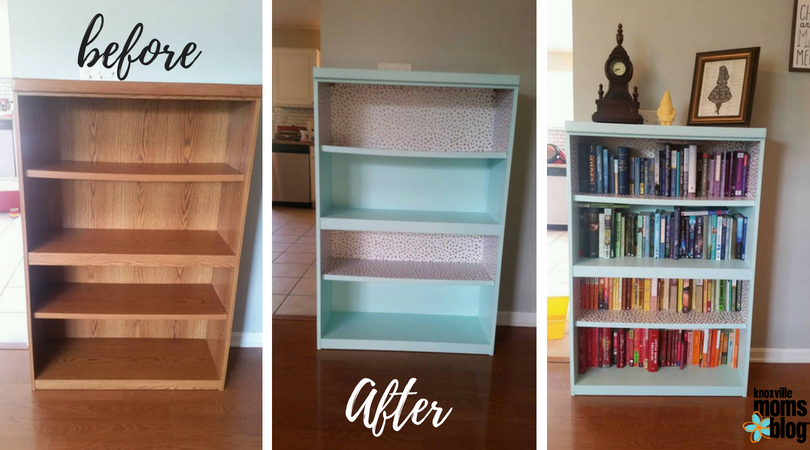
I decided to take on a slightly smaller, more manageable project after that, and I repainted my wooden bookcase.
I painted it with Valspar “Mystic Sea” in satin finish, to protect it from chipping. To add a little pizzazz, I decided to wallpaper the shelves with a golden polka dot print that I found at Target. Papering turned out to be REALLY hard, even with the self-adhesive (no paste required) kind that I bought. It’s hard to keep out the bubbles. I actually decided mid-project to only paper every other shelf because of this. But I still like the way it turned out!

The biggest project by far was tearing down the wall, and I left that largely up to my husband.
Demolition (while it is highly anticipated and praised on HGTV) is not something that I was looking forward to, and I felt like I was in way over my head. My husband was a bit more enthused about using his brute strength to tear down a wall, and he checked the support beams in the attic first to make sure that it wasn’t load-bearing. (My husband is a civil engineer, and he inspects homes for a living, so I trust his opinion.) It was a very messy process, and the dust was pretty invasive, but I’m proud to say that my husband handled the job without having to bring in any outside help. There was even an electrical outlet that needed to be moved, and he figured everything out on his own!
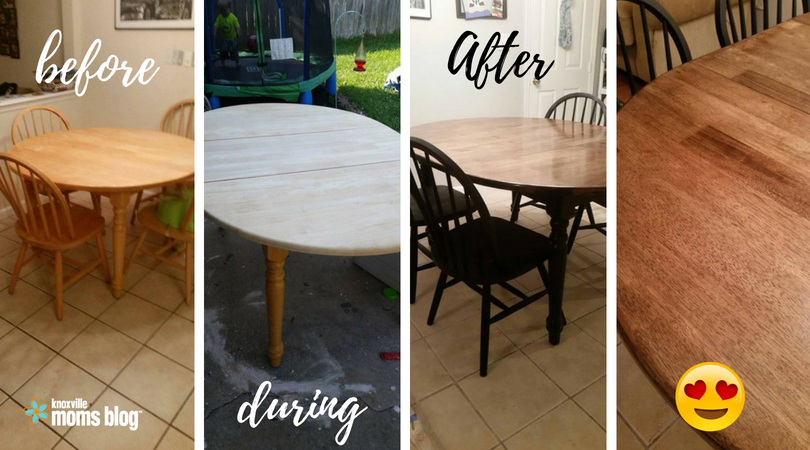
My hardest project was finally upon me: I needed to refinish our kitchen table.
When I brought home the plain, slightly ugly honey-colored table from a Facebook sale group back in the spring, my husband was skeptical that I would ever really get the project done. Using the instructions that I found on this website, I went back to Lowe’s (I’m pretty much on a first-name basis with all of their employees at this point) and bought all of my materials.
It turns out that the instructions on the website I used were not nearly as detailed as they should be for a first-timer like me, and I ended up making a lot of rookie mistakes. Apparently, sanding with the grain is a thing, and those little numbers on sandpaper actually mean something! In any case, I’m proud of myself for what I accomplished (mistakes, do-overs, and all), and I’m excited to be the owner of my very first power tool: a palm sander!
It was all downhill from there.
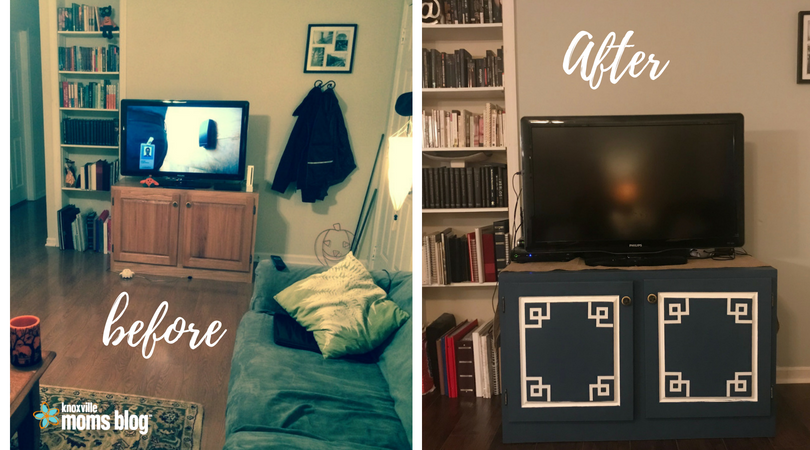
I wanted the base of my table and the chairs to have a chalk-painted look without using actual (expensive!) chalk paint, so I used black chalkboard paint in a spray can. I also coated everything with a matte, protective finish. I painted our TV console with Valspar “Deep Twilight Blue” and jazzed it up with a white stripe on the doors and some Greek corner stick-on fretwork that I found on this website. I refinished our coffee table and end table (painting the legs of the end table with matching black chalkboard paint). The finish itself isn’t that different from the original, but after years of wear and tear, it needed to be done to have that shiny, new look. We hired Floor & Decor (in Cedar Bluff) to handle removing our old floor and installing beautiful, new hardwood laminate. After that, all that remained was to go furniture shopping for a new couch and recliner chair!
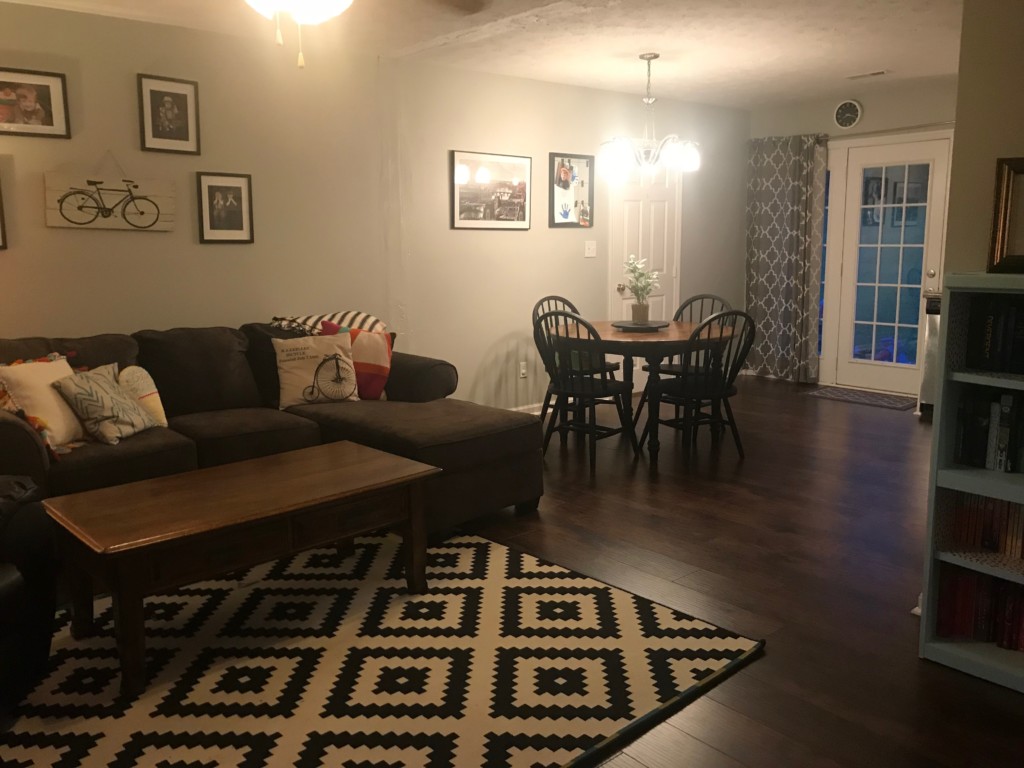
Here is the final look:
The entire renovation was a lot more exhausting than I had anticipated, and each project seemed to take twice as long as I thought it would. My children had to show some extra patience on days that I was doing renovation work, and I often just shoved them out into the backyard and told them to entertain themselves. I’d also be lying if I said my husband and I didn’t have some *tense* conversations regarding the renovation work and the budget at different points during the summer.
However, in the end, I think it was worth all of the effort! We added value to our home, and it feels like we’re living in a completely different (beautiful!) house now.


WOW!!! All I did was paint my office garnet and gold and put up a Seminole decal and that took me FOREVER. I know it was exhausting work, but your house looks AMAZING! Great job!!
Thanks, Robin! It was a lot of work!
So Awesome Rachel!!! I have been meaning to comment on this for ages:) I am impressed! When my times comes, I will probably hire someone, but I am impressed by ya’ll going for it.
Thanks, Sabrina! I definitely wanted to hire someone to take down the wall, and I’m still not totally satisfied with the way it turned out (you can see a bit of a bump…it’s not perfectly smooth on the wall or the ceiling), but I am so proud of Justin for trying it all by himself!